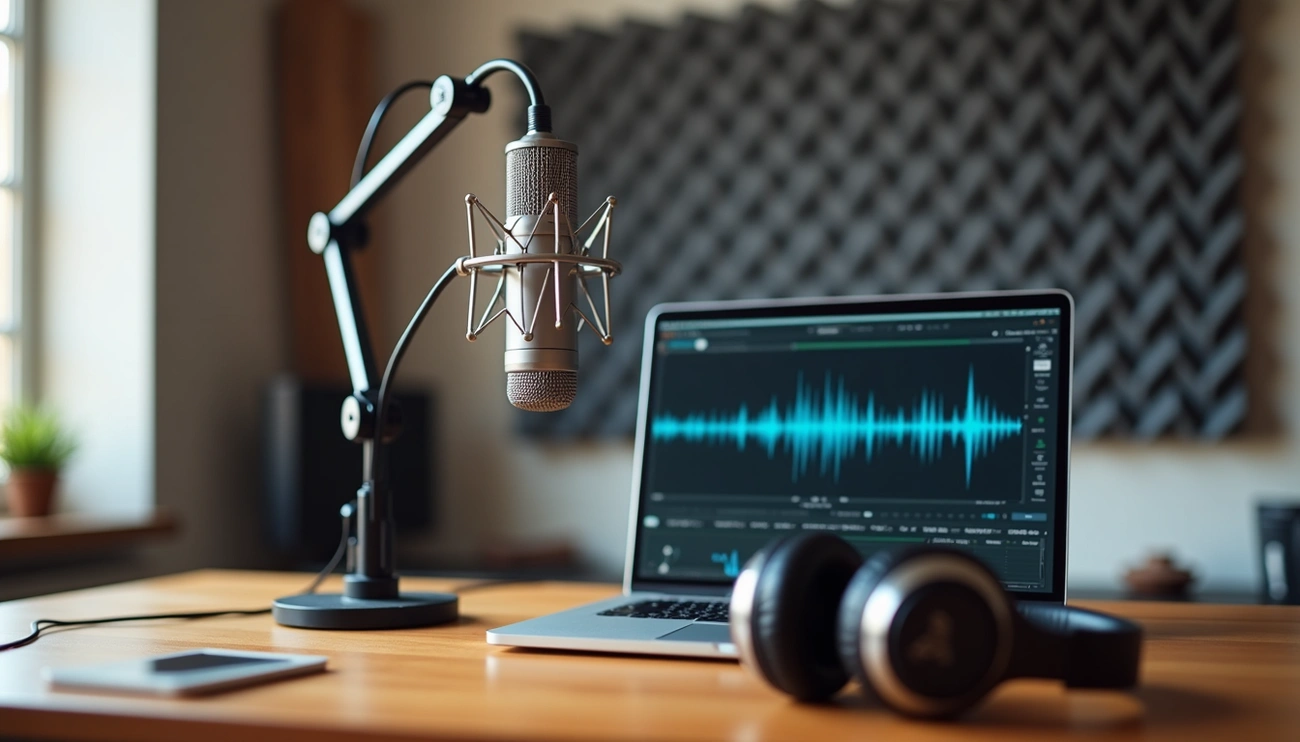
Does background noise ruin your audio recordings? You’ll find Audacity’s noise reduction tool one of the most powerful solutions accessible to more people—and it’s completely free. Background noise can quickly ruin the quality of your podcasts, voiceovers, or music productions.
The noise reduction process in Audacity works well and is easy to use. This feature stands out so much that it’s a compelling reason to use the software. The software also lets you reduce noise through live effects without permanent changes. This piece shows you how to use noise reduction in Audacity. You’ll learn the best settings for different scenarios and get a clear tutorial to create professional audio without much effort.
Understanding Noise Profiles and Setup
Understanding noise profiles is the foundation of effective noise reduction in Audacity. A noise profile works like a sonic fingerprint that helps Audacity identify and target unwanted sounds. Becoming skilled at this fundamental concept should come before trying complex audio cleaning.
Your noise profile teaches Audacity about the noise you want to remove by identifying the noise floor of different frequencies in the background noise. The software needs this profile to tell the difference between unwanted noise and sounds you want to keep. Poor noise profiles can make your noise reduction efforts fail or damage your audio quality.
You’ll need to capture a sample of pure noise to create an accurate profile. This means finding a section in your recording with just the background noise you want to eliminate—no speech, music, or other desired sounds. The noise-only section should last at least 0.05 seconds at a 44,100 Hz sample rate (equivalent to 2048 samples). Longer profiles give better results, so try to get a few seconds of pure noise when you can.
Look for a section with only background noise in your recording. Audio professionals recommend recording a few seconds of room tone before speaking. This “sound of the room” should be captured before any intentional audio begins. Such planning will give you much better noise reduction results.
The gaps between spoken words or other desired sounds might provide enough material if you didn’t record dedicated silence. Even brief pauses can work for a usable noise profile. The profile should match the consistent background noise throughout your recording.
Select your chosen noise section by clicking and dragging across the waveform in Audacity after you’ve found it. Next, go to Effects > Noise Reduction and click the “Get Noise Profile” button. This step doesn’t change your audio—it just tells Audacity what your noise sounds like.
Note that noise profiles don’t last forever. Audacity doesn’t keep the profile when you close it. You’ll need to create a new noise profile each time you launch the program and want to reduce noise. This actually helps ensure more accurate noise reduction since background conditions often change between sessions.
Background conditions can vary even within one recording. A cassette recording’s noise profile might change throughout the tape because dirt builds up on the tape heads. Using a noise sample from the beginning of the tape works better than one from the end in these cases.
Projects with multiple speakers or locations need separate noise profiles for each unique recording environment. Each location has its own audio characteristics or “room tone” with unique background noises. Individual analysis of each environment will produce much better results.
Here are some best practices to capture effective noise profiles:
- Record a few seconds of silence before speaking in every recording session
- Position noisy equipment (computers, fans) as far from your microphone as possible
- Check all equipment and connections to minimize electrical hum
- For multi-location recordings, capture separate noise profiles for each environment
- Choose longer noise samples when available for more accurate profiles
Clean recordings beat corrections every time. Audacity’s noise reduction tool works well, but starting with the cleanest possible recording will always give you better results. Set up your recording environment and equipment properly before you start.
A noise profile sets you up to begin the actual noise reduction process. Your profile determines how well Audacity can clean your audio. Good noise profiles let the software target unwanted sounds precisely while keeping your desired audio intact.
The next section will cover selecting the audio you want to clean and using the Noise Reduction tool with your settings.
![[12] Best Plugins for Audacity in 2026 (Free Downloads)](/wp-content/uploads/2026/01/a8946991-9c92-4963-9410-0dcb946193d2.webp)