Audacity software stands as one of the most popular audio editing tools in the world, with an impressive 314.2 million downloads since its release. As a free, open-source program that works seamlessly across Windows, Mac OSX, and Linux, it’s no wonder why so many creators choose this powerful tool for their audio production needs.
When I first discovered Audacity, I was amazed by its professional-grade capabilities despite being completely free. In this comprehensive audacity software tutorial, we’ll explore what audacity software is used for and guide you through the essential audacity audio editing techniques. Furthermore, you’ll learn how to leverage the numerous audacity software features that enable even beginners to produce polished, professional-quality audio segments. Whether you’re recording a podcast, editing music, or cleaning up audio files, this guide will help you transform from a novice to a confident audio editor.
Getting Started with Audacity
How to download and install Audacity
First and foremost, let’s get Audacity on your computer. As a completely free and open-source program, downloading audacity software is straightforward through the official website at audacityteam.org 1. The software is available for all major operating systems including Windows (32-bit, 64-bit, and ARM64 beta), macOS (Universal Binary), and Linux (64-bit AppImage) 1.
For Windows users, you have several installation options. You can download directly from the website, through the Microsoft Store, or via Muse Hub 2. The latter option provides access to additional sounds, loops, and effects for your projects 3. Once downloaded, simply run the installer and follow the on-screen instructions, selecting your preferred language and installation location.
Mac users will download a DMG file that contains the application. After downloading, open the DMG file and drag the Audacity icon to your Applications folder 4. It’s important to note that you should not launch Audacity from the DMG folder itself.
Linux users can install Audacity using the AppImage, which needs to be made executable before use. Alternatively, you can install it through your distribution’s package manager with commands like sudo apt install audacity for Ubuntu/Debian systems 4.
Additionally, you may want to install the FFmpeg library, which allows Audacity to import and export a wider range of audio formats including M4A (AAC), AC3, and WMA 5. This library also enables importing audio from most video files.
Setting up your first project
Once Audacity is installed, it’s crucial to save your project immediately before recording or importing any audio 6. I recommend creating a dedicated folder on your computer for each Audacity project to keep everything organized. This ensures your project will open properly on any computer, as Audacity creates a separate data folder alongside your project file.
Before recording, check your audio setup by clicking the “Audio Setup” option in the toolbar 7. This allows you to verify your recording and playback devices. If you connect headphones while Audacity is open, click “rescan audio devices” to make them visible to the software 7.
The interface features several toolbars at the top, including Transport (Play, Stop), Tools, and Volume/Meters for microphone input and playback 8. You can customize which toolbars are visible by selecting View > Toolbars from the menu.
Understanding what Audacity is used for
Audacity is a versatile audio editing tool with numerous applications. The software serves as:
- A powerful podcast recording and editing platform (it’s the world’s most popular app for podcasters) 3
- A multi-track recorder for musicians and bedroom producers 3
- A tool for field recorders and educators to capture and analyze environmental sounds 3
- A solution for digitizing records, tapes, or MiniDiscs 9
Moreover, Audacity provides extensive editing capabilities. You can perform post-processing of all audio types, including normalization, trimming, and fading 9. The software allows for precise adjustments to speed while maintaining pitch, making it ideal for synchronizing audio with video 9.
In essence, Audacity handles everything from basic recording to complex multi-track editing. It supports multiple audio formats natively (WAV, AIFF, MP3, Ogg Vorbis) and, with the FFmpeg library, can work with proprietary formats like M4A and WMA 9. Its plugin support (LADSPA, LV2, VST, VST3, Audio Units, Vamp, and Nyquist) further extends its functionality, making it a complete audio workstation despite being completely free 10.
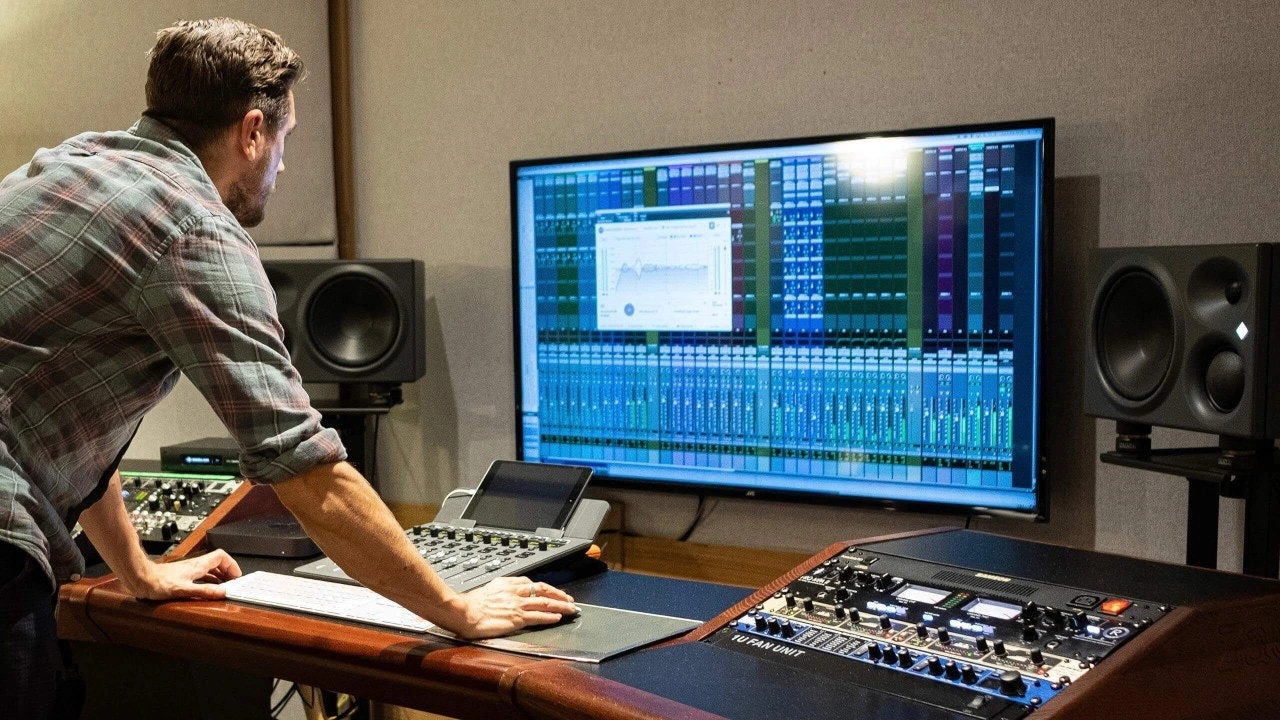
Navigating the Audacity Interface
Mastering the Audacity interface is your gateway to efficient audio editing. Once you’ve installed the software, understanding the layout and tools will significantly speed up your workflow. Let me walk you through the essential elements that make this powerful audio editor tick.
Transport, Tools, and Edit toolbars
The heart of Audacity’s functionality lies in its three primary toolbars. At first glance, they might seem overwhelming, yet each serves a specific purpose in your audio editing journey.
The Transport Toolbar contains all playback and recording controls. The play button starts audio playback from your cursor position, whereas the record button (red circle) begins recording immediately. Holding Shift while clicking record creates a new track instead of recording over existing content. The pause button temporarily halts playback or recording without losing your place – clicking it again resumes where you left off. For quick navigation, use the Skip to Start (Home) and Skip to End buttons to jump to the beginning or end of your project.
Next, the Tools Toolbar houses selection and manipulation tools. The Selection Tool (F1) lets you highlight portions of audio for editing. The Envelope Tool (F2) creates smooth volume transitions through control points. Meanwhile, the Draw Tool (F3) allows manual waveform editing for detailed repairs. The Multi-Tool (F6) combines all tools into one context-sensitive pointer that changes based on your cursor position – perfect for speeding up your workflow.
The Edit Toolbar contains functions like Zoom In (Ctrl+1), Zoom Out (Ctrl+3), and Fit to Width (Ctrl+F). It also features Trim Audio (Ctrl+T) which removes everything except your selection, Silence Audio (Ctrl+L) for replacing selections with silence, plus Undo (Ctrl+Z) and Redo (Ctrl+Y) functions to correct mistakes.
Audio setup and monitoring
Configuring your audio settings properly ensures optimal recording quality. Click the Audio Setup button (speaker icon) in the top toolbar to select your playback and recording devices. This essential step prevents headaches later when recording or playing back your projects.
To hear your input while recording, enable Audible Input Monitoring through Transport > Transport Options menu. However, remember that software monitoring introduces latency – a slight delay between input and output that may affect timing-sensitive recordings. For zero-latency monitoring, consider using an external USB audio interface with a headphone jack.
Adjusting recording levels is crucial for clean audio. While recording, watch the Recording Meter to ensure your audio isn’t too quiet (difficult to hear) or too loud (causing distortion). Aim for peaks around -6 dB for optimal quality. For precise level control, enlarge the Recording Meter by dragging its right edge outward – this creates more space for fine adjustments.
Customizing your workspace
Audacity’s interface can be tailored to your preferences for maximum efficiency. If certain toolbars are missing, enable them through View > Toolbars and check the ones you need. You can rearrange toolbar positions using the ‘Grabber’ column at the left end of each toolbar – simply click and drag to your preferred location.
Need more precise control? Resize toolbars using the ‘Drag Bar’ at their right edges. This trick is particularly useful for volume controls, giving you finer adjustment capabilities. Similarly, the zoom tools help navigate projects of any size – use Zoom In for detailed editing and Zoom Out to see the bigger picture.
Learning keyboard shortcuts dramatically speeds up your editing process. Beyond the basic shortcuts mentioned earlier, you can customize them through Preferences to match your workflow. Consequently, as you become more familiar with the interface, your audio editing will become faster and more intuitive.
Basic Audio Editing Techniques
Now that you’re familiar with Audacity’s interface, let’s dive into the essential editing techniques that will transform your raw audio into polished productions.
Importing and recording audio
Audacity gives you two main ways to get audio into your project. First, you can import existing files by selecting File > Import > Audio or simply drag and drop audio files directly into the Audacity window. For best quality, import WAV or AIFF formats as they preserve sound quality better than compressed formats. Once imported, you’ll see the waveform display with left and right channels, allowing you to verify successful import by clicking play and listening for a few seconds.
Alternatively, recording directly in Audacity is straightforward. Just click the red record button in the upper left corner to start capturing audio, then the orange square to stop. To create a new track instead of recording over existing content, hold Shift while clicking record—this prevents accidentally overwriting your previous takes.
Trimming and deleting sections
Removing unwanted portions of your audio is fundamental to good editing. To delete a section, first select it using the Selection Tool (I-beam icon), then press Delete or go to Edit > Delete. This removes the selected audio and shifts the remaining content to close the gap.
For trimming, highlight the portion you want to keep, then use Edit > Remove Special > Trim Audio (or press Ctrl+T). This method preserves only the selected audio and removes everything else—perfect for eliminating dead air at the beginning or end of recordings.
Splitting and moving clips
Sometimes you’ll need to break your audio into separate segments. To split a clip, position your cursor exactly where you want the division, then select Edit > Clip Boundaries > Split (or press Ctrl+I). Afterwards, a vertical line appears showing the split point.
Once split, you can move clips independently using the Time Shift tool. This allows you to rearrange segments, create space between clips, or even move content to a different track entirely—ideal when organizing podcasts or multi-part recordings.
Using undo and redo effectively
Perhaps Audacity’s most powerful feature is its unlimited undo capability. Unlike many applications, Audacity lets you revert changes all the way back to when you first opened your session. Press Ctrl+Z to undo your last action or Ctrl+Y to redo it.
Beyond these shortcuts, Audacity offers the History window (View > History) which displays all your editing actions chronologically. This allows you to jump back multiple steps instantly rather than pressing undo repeatedly—a tremendous timesaver during complex editing sessions.
Enhancing Your Audio Like a Pro
Beyond basic editing, Audacity offers powerful tools to elevate your audio quality. These professional-grade enhancements transform amateur recordings into broadcast-ready productions with just a few clicks.
Fading in and out
Smooth transitions make your audio sound polished. To create a fade, simply select the portion you want to modify, then choose Effect > Fading > Fade In or Fade Out. For a more natural sound, try the Studio Fade Out effect, which applies an S-shaped curve that gradually fades higher frequencies first—perfect for music tracks that need a professional touch.
Alternatively, for custom fades, use Adjustable Fade which allows precise control over the fade shape. Crossfades between tracks or clips are equally straightforward—just select overlapping regions and select Effect > Crossfade Tracks to blend them seamlessly.
Using the envelope tool for volume control
The envelope tool offers precise control over volume throughout your track. Select the envelope tool (F2) from the toolbar, and you’ll notice blue borders appear around your track. Click anywhere on this border to create control points, then drag them up or down to increase or decrease volume at specific moments.
This technique proves especially valuable when mixing multiple tracks—for instance, lowering background music during narration or emphasizing particular sections of speech. To remove any control point, simply click and drag it off the track.
Applying basic effects like normalize and amplify
Although similar, Normalize and Amplify serve different purposes. Normalize adjusts multiple tracks to the same peak level (typically -1dB), making them consistent while preserving headroom for additional processing. It can also remove DC offset, which causes waveform distortion.
Amplify, conversely, increases volume by a specific amount across all selected tracks, maintaining their relative balance. For podcasts and voice recordings, normalizing to around -3dB provides optimal results without risking distortion.
Noise reduction and vocal isolation
Background noise can ruin otherwise perfect recordings. Audacity’s noise reduction tool works by analyzing a sample of pure noise, then removing similar patterns throughout the track. First, select a section containing only noise, choose Effect > Noise Reduction, and click Get Noise Profile. Next, select your entire track, reopen the effect, adjust settings (typically 6-12dB reduction with moderate sensitivity), and apply.
For music editing, you can even isolate vocals from instrumental tracks. On Windows and Linux, the OpenVINO Music Separation plugin separates vocals from instruments effectively. For all platforms, splitting stereo tracks to mono and inverting one channel can remove center-panned vocals, though results vary depending on the original mix.
Exporting and Saving Your Work
After perfecting your audio, you’ll need to finalize it in the right format. Understanding the difference between saving projects and exporting audio is crucial for maintaining your workflow in audacity software.
Choosing the right file format
Ultimately, your choice of format depends on your intended use. Uncompressed formats like WAV and AIFF preserve complete audio quality, ideal for further editing or CD burning. These lossless formats provide maximum quality yet create larger files. For podcasts, MP3 remains popular with recommended settings of 96 kbps CBR for excellent mono voice quality. Generally, FLAC and WavPack offer lossless compression, reducing file sizes by half while preserving audio integrity.
Using FFmpeg for advanced formats
FFmpeg unlocks additional export capabilities in audacity audio editing software. This optional library enables exporting to M4A (AAC), AC3, and WMA formats. Due to patent restrictions, FFmpeg cannot be distributed with Audacity itself but must be installed separately. Once installed, Audacity automatically detects it, allowing custom export settings for specific codecs within format containers.
Saving projects vs exporting audio
Saving (File > Save Project) creates .aup3 files containing all editing data, allowing future modifications. Naturally, exporting (File > Export Audio) produces playable files for distribution. Remember that WAV/AIFF files have a 4GB size limitation, whereas project files maintain complete editing flexibility. For safety, export immediately to WAV/AIFF after recording as backup before starting audacity audio editing.
Conclusion
Audacity stands out as a remarkable tool that transforms beginners into skilled audio editors without costing a penny. Throughout this guide, we’ve explored the essential features that make this software an indispensable asset for podcasters, musicians, and content creators alike.
You now possess the knowledge to record crystal-clear audio, perform precise edits, enhance sound quality, and export your creations in various formats. The ability to navigate through the interface, manipulate tracks, and apply professional effects certainly places impressive audio production capabilities at your fingertips.
What makes Audacity truly special is how it democratizes audio editing. Unlike expensive alternatives, this open-source program delivers professional results regardless of your budget or experience level. Additionally, its cross-platform compatibility ensures you can work seamlessly whether using Windows, Mac, or Linux.
Practice remains your best pathway to mastery. Start with simple projects—perhaps recording a short narration or cleaning up an existing audio file. Then gradually tackle more complex tasks as your confidence grows. Undoubtedly, you’ll discover new techniques and workflows that suit your specific needs along the way.
Remember that the unlimited undo feature serves as your safety net while learning. This powerful function allows bold experimentation without fear of making permanent mistakes. Therefore, don’t hesitate to try different effects, test various editing approaches, or play with advanced features as you develop your unique editing style.
Audacity might appear overwhelming at first glance, but persistence pays off enormously. The skills you develop will serve you well across numerous audio projects—from podcasts and music production to voice-overs and sound design. Your journey into audio editing has just begun, and Audacity provides all the tools necessary for your creative expression to flourish.
![[12] Best Plugins for Audacity in 2026 (Free Downloads)](/wp-content/uploads/2026/01/a8946991-9c92-4963-9410-0dcb946193d2.webp)